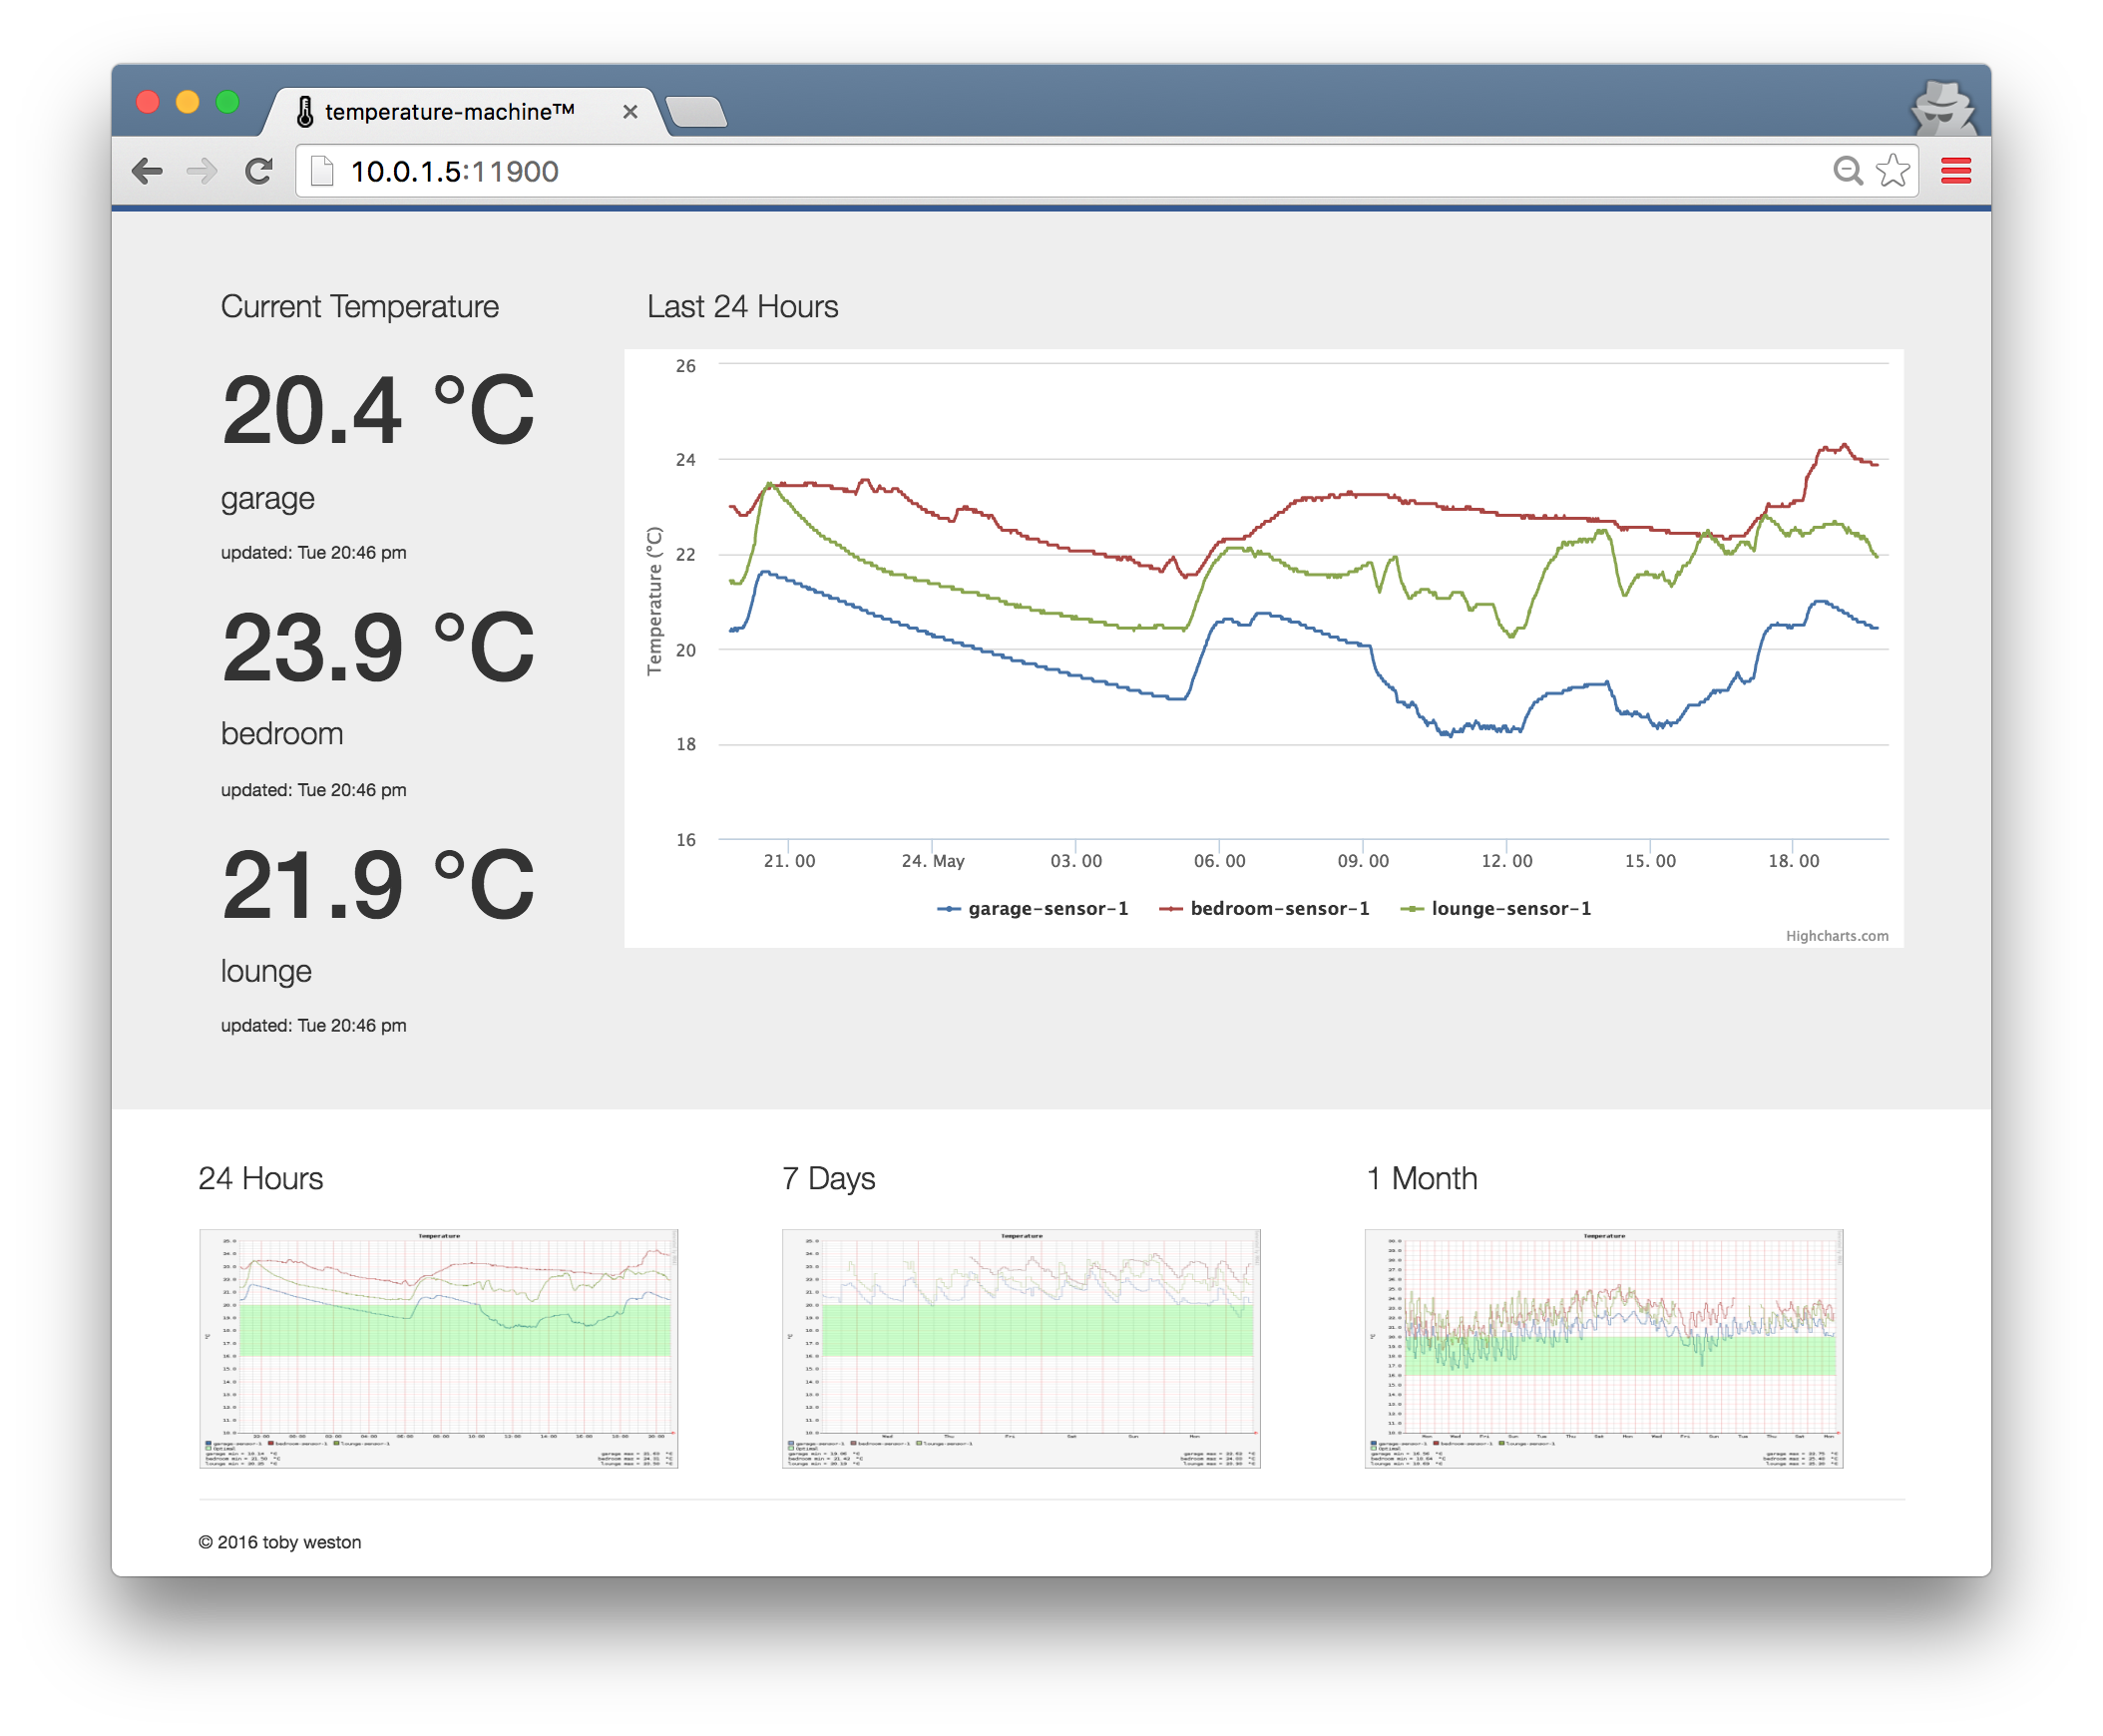
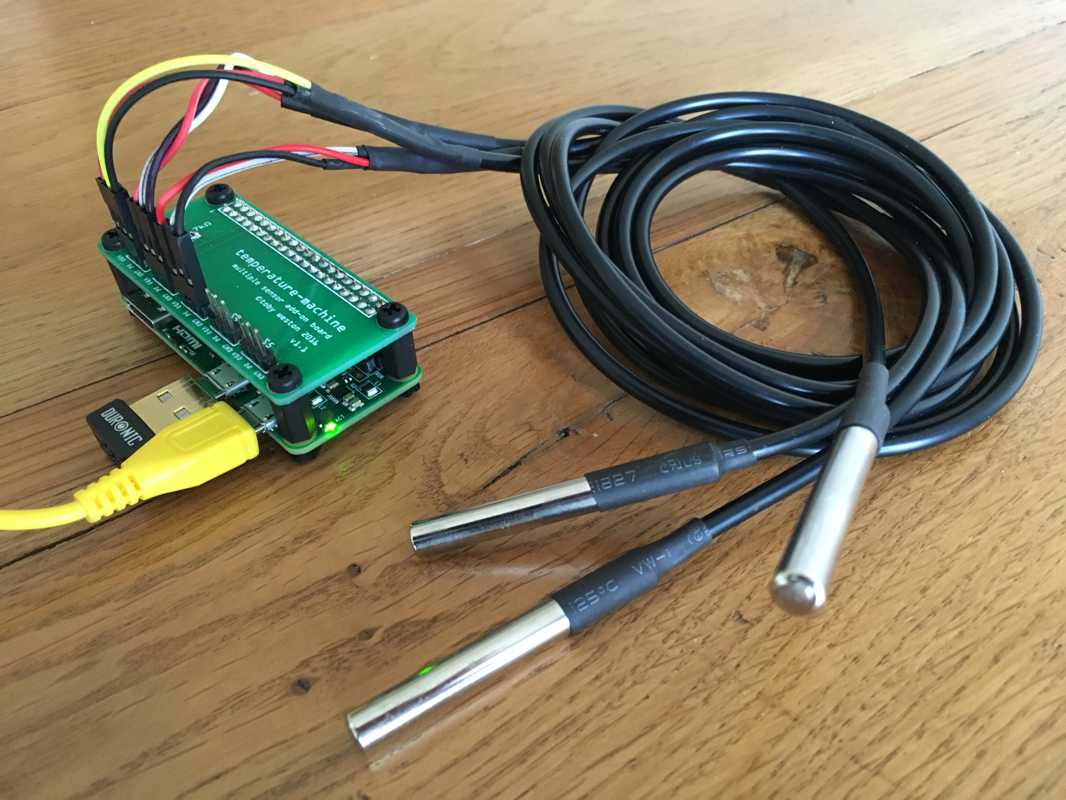
Using a Raspberry Pi Zero, some cheap components and some custom software, you can build a data logger to track ambient temperature in your home for around £10. Track days, weeks and months worth of temperature data and display some pretty graphs via the web.
Order list
| Item | Price |
|---|---|
| Raspberry Pi Zero | £ 4 |
| SanDisk 8GB microSDHC memory card | £ 4 |
| 2.54mm Header strip | £ 0.89 |
| DS18B20 1-Wire temperature sensor | £ 1.45 |
| 1 x 4.7k Ω resistor | £ 0.10 |
| Some jumper wires or otherwise recycled wires with connectors | £ 0.97 |
| Data logging software | FREE |
| Total | £ 11.41 |
Optional extras You might also want to consider a USB Wifi adapter (about £ 6), a case (I like the one from Switched On Components at £ 3.80) and a USB to TTL serial connection for headless setup. Something with a PL2302TA chip in it like this module or the Adafruit console cable.
Setup the Hardware
Connecting the temperature sensor to the Pi is straight forward. There a loads of tutorials on the web but you’re looking to connect the following physical pins on the Pi to the following sensor connectors.
| Physical Pi Pin | Description | DS18b20 Connector |
|---|---|---|
| 1 | 3.3v Power | Power (red) |
| 7 | GPIO 4 | Data (yellow) |
| 9 | Ground | Ground (black) |
The other thing you’ll need to do is connect the 4.7k Ω resistor between the power and data lines. This acts as a pull-up resistor to ensure that the Pi knows that the data line starts in a “high” state. Without it, it can’t tell if it should start as high or low; it would be left floating.
Setup the Pi
Make sure you have the following line in your /boot/config.txt. It will load the GPIO 1-wire driver and any attached temperature sensor should be automatically detected.
dtoverlay=w1-gpio
On the sensor itself, temperature measurements are stored in an area of memory called the “scratchpad”. If everything is connected ok, the contents of the scratchpad will be written to a file under /sys/bus/w1/devices/28-xxx/w1_slave (where xxx will be a HEX number unique to your sensor). Here’s an example from my w1_slave file.
4b 01 4b 46 7f ff 05 10 d8 : crc=d8 YES
4b 01 4b 46 7f ff 05 10 d8 t=20687
The temperature is shown as the t value; 20.687 °C in this case. The scratchpad allows you to program the sensor as well as read temperature data from it. See the data sheet or the project’s documentation for more details (including how to change the precision of the sensor).
Once you can see the w1_slave file, you’re ready to install the data logging software.
Setup the Data Logging Software
There are lots of options to record the temperature data but for something a bit different, the temperature-machine software logs temperatures from multiple sensors on multiple Pi’s. It sends the data to a nominated “server” and the server stores it all in a round robin database and serves up the charts via a web page.
Setup
apt-getto recognise the temperature-machine repository and import the public key (increasing security by ensuring only official packages are installed from it).sudo bash -c 'echo "deb http://robotooling.com/debian stable temperature-machine" >> /etc/apt/sources.list' sudo apt-key adv --keyserver pool.sks-keyservers.net --recv-keys 00258F48226612AEInstall.
 sudo apt-get update
 sudo apt-get install temperature-machine
Decide if you will be running the temperature-machine as a server or client.
If you have a single machine, you want a server. If you already have a server running and you’re adding another machine, set it up as a client.
Run the following command (if you see an error about
port already in use, try again until it works).temperature-machine --initIt will ask you to choose between the server and client and create an appropriate configuration file in
~/.temperature/temperature-machine.cfg.If you created a server configuration file above, update the defaulted hosts in
~/.temperature/temperature-machine.cfg.The default server configuration will list some default values for
hosts, such as:hosts = ["garage", "lounge", "study"]These are the machines you will be using in your final setup. Ensure these match the host names of each machine you plan to add. The values are used to initialise the database on the server. If you need to change this later, you will have to delete the database and losing any historic data, so add in some spares.
The software starts automatically, it runs as a service but after setting up the configuration, you must either restart the service manually (run
sudo systemctl restart temperature-machine) or wait about a minute and it will restart automatically.Go to to something like http://10.0.1.55:11900 from your favorite browser. Find your IP address on the Pi with
hostname -I.
The logs can be found in the app or in the ~/.temperature/temperature-machine.log.
Add Multiple Machines
You can add as many client machines as you like and each machine can have up to five sensors attached. For example, add them to rooms and set the hostnames to match the room (just make sure the hostnames match what you put in your server temperature-machine.cfg file).
Follow the steps above but select client when you run temperature-machine --init.
The server broadcasts it’s IP address, so any clients should automatically detect where the server is and start sending data to it.
Add Multiple Sensors
The 1-wire protocol allows you to chain multiple sensors, so each Pi can have any number of sensors attached. The software automatically supports up to five sensors. Connect them to your Pi and restart and they’ll be automatically detected and included in the charts.
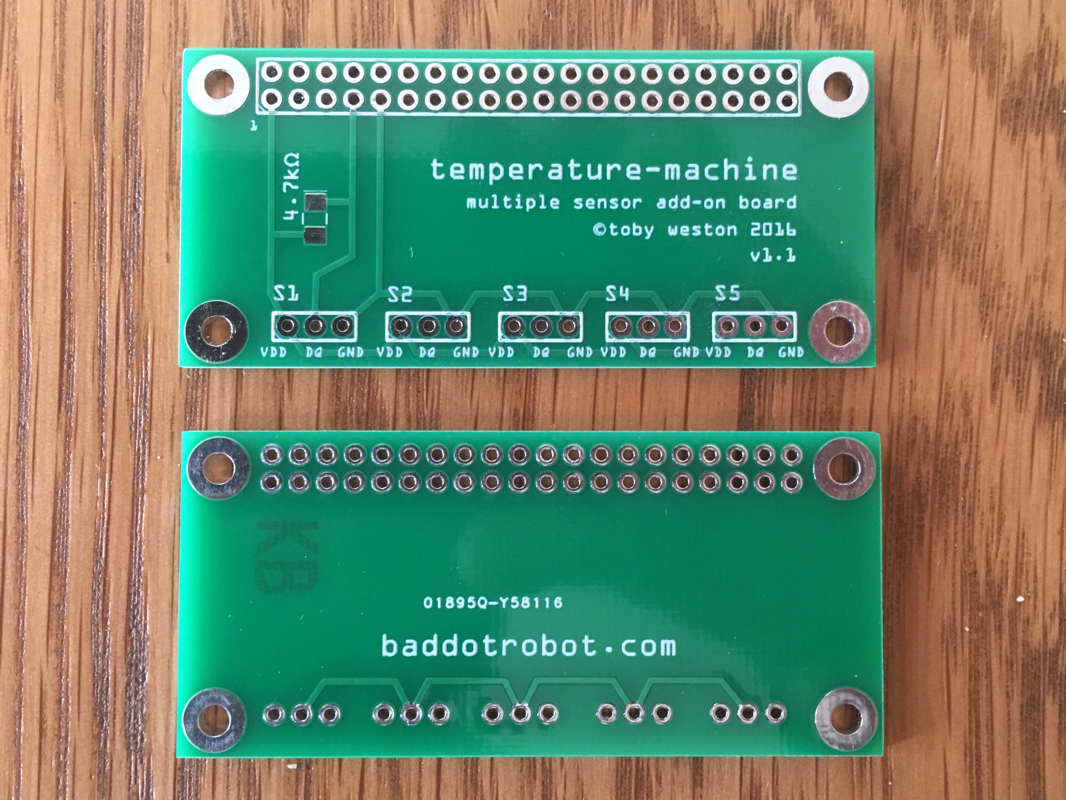
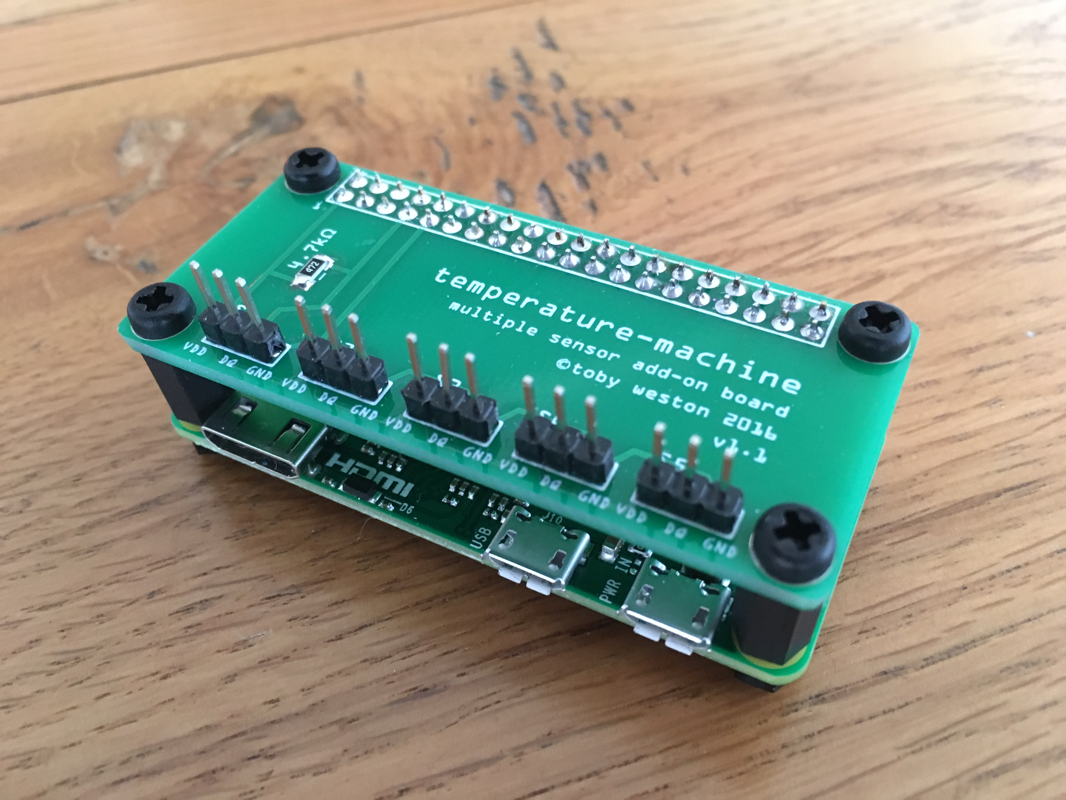
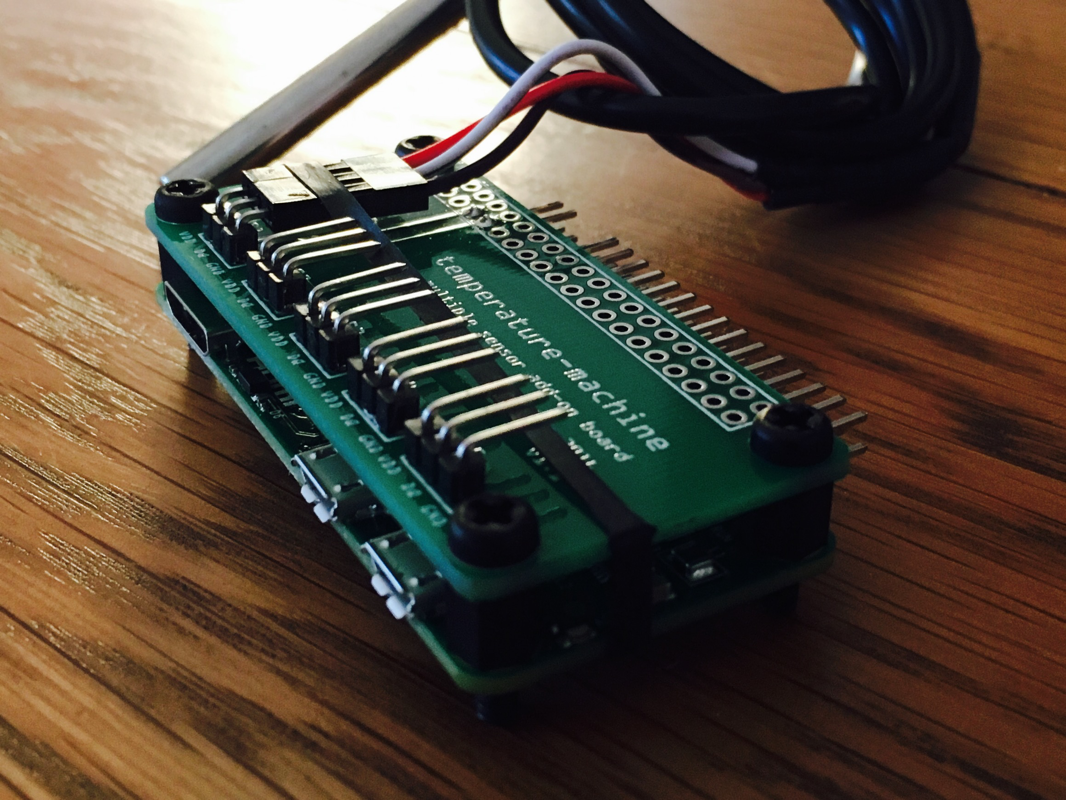
I found soldering a bunch of sensor wires together along with the resistor a bit tricky so I put together a simple PCB to allow me to chain them without soldering.
Start Logging Automatically
The software will automatically start as a service, it will even restart after a crash or reboot.
To see if it’s running, run the following.
systemctl status temperature-machine
Look for active (running) in the output.
● temperature-machine.service - temperature-machine
   Loaded: loaded (/lib/systemd/system/temperature-machine.service; enabled; vendor preset: enabled)
   Active: active (running) since Wed 2018-05-09 19:54:32 UTC; 2 days ago
 Main PID: 22980 (java)
   CGroup: /system.slice/temperature-machine.service
           └─22980 java -Djava.rmi.server.hostname=10.0.1.26 -Xms256m -Xmx512m ...
To stop the service, run the following.
sudo systemctl stop temperature-machine
To restart, run the following (or reboot).
sudo systemctl restart temperature-machine
Do Not Disturb
If you’re monitoring temperatures in a bedroom, you might not want to be disturbed by the LEDs. To switch the Pi Zero LED off, see the Raspberry Pi Forum and Stack Overflow and to switch an Edimax EW-7811 LED off, see my previous post.
Find out More
Head over to the project’s website at temperature-machine.com for the full docs.
